Deadly Escape Key Items Tier List
Keys, generator, medkits, and explosive barrels ranked for progression and trophies.
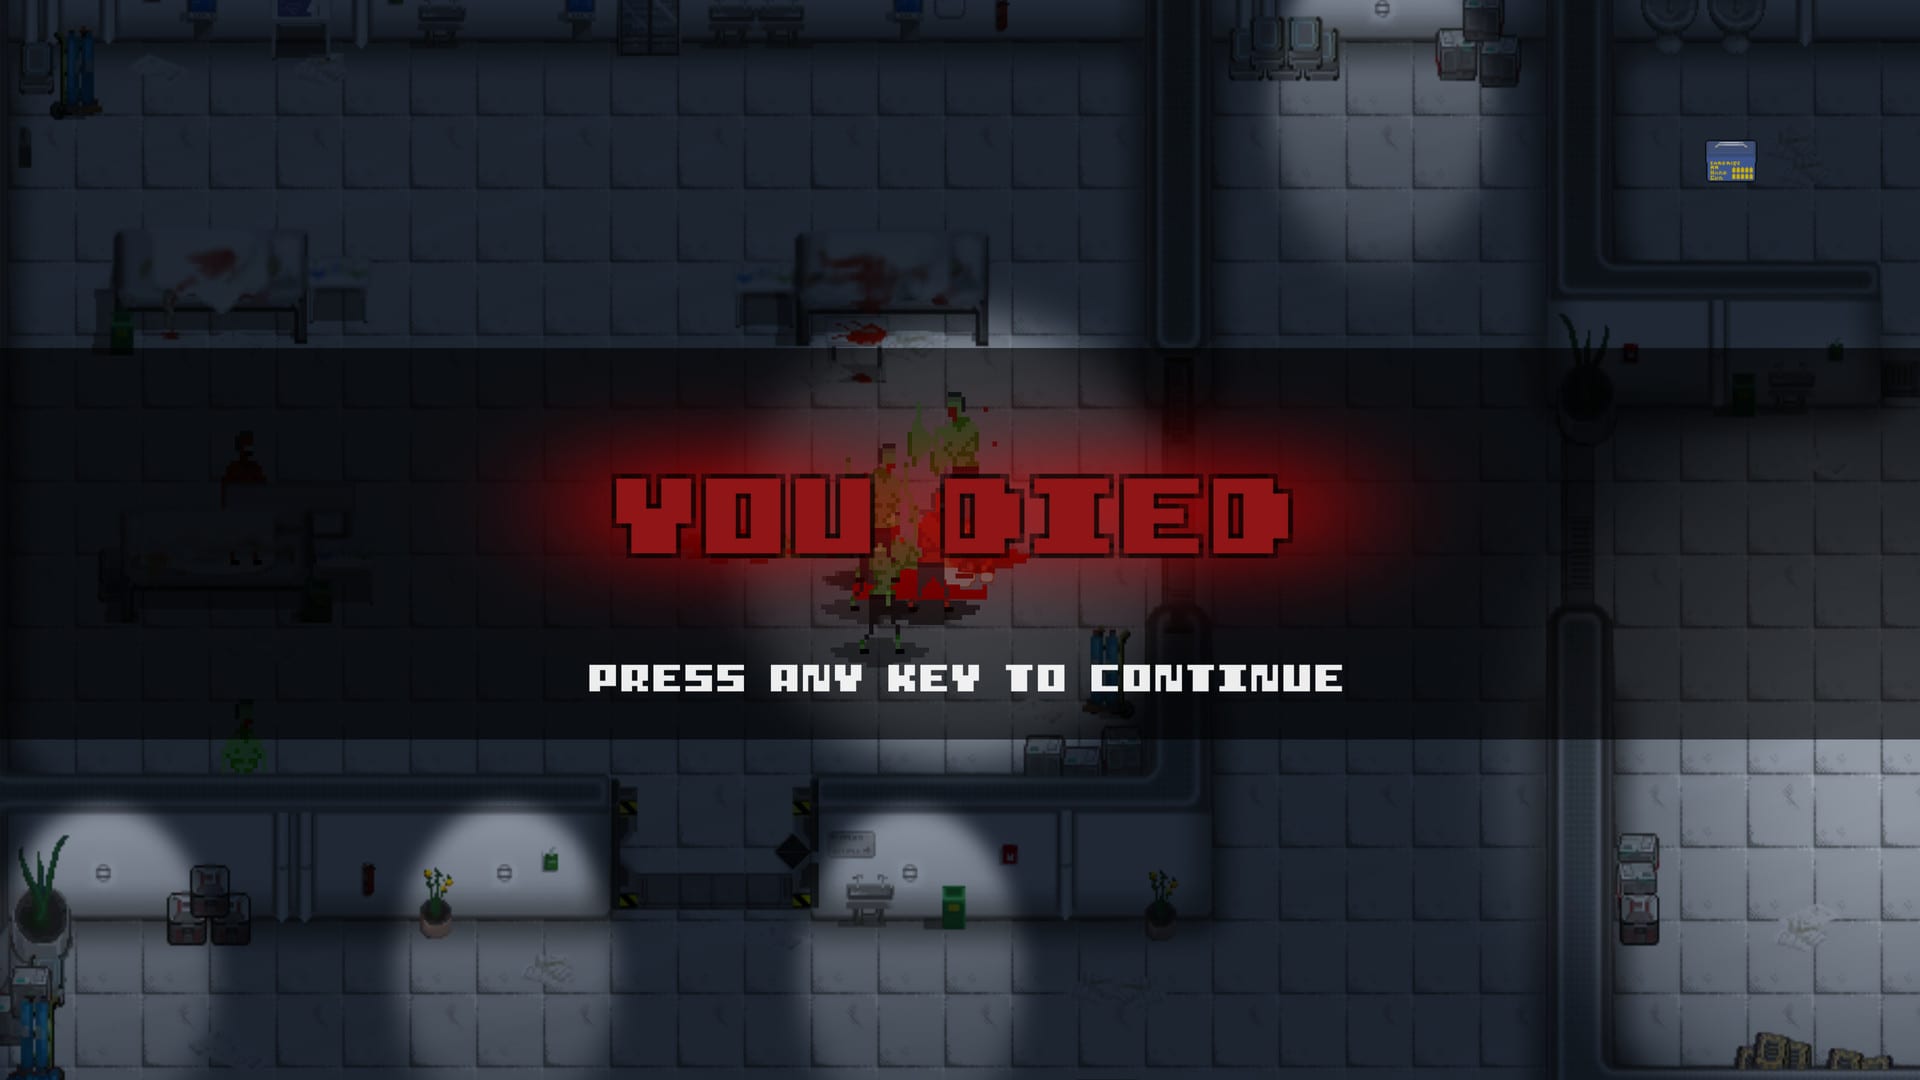
Progress in Deadly Escape is not gated by XP or skill trees—it is gated by key items scattered through a abandoned medical complex. Keys open sealed wings, the generator restores power to dark sectors, medkits undo damage from unavoidable ambushes, and explosive barrels offer free area kills when ammo runs thin. Ignore any one category and you either hard-lock the story or leave Steam achievements on the table.
This page ranks the four critical interactable types for survival value, achievement routing, and pickup priority. Pair it with the weapons tier list so you know when to spend bullets versus when to lure undead into a barrel blast.
Ranking criteria
Progression impact — Does skipping this item soft-lock the chapter?
Achievement impact — Does interaction unlock or progress a Steam trophy?
Scarcity — How many exist per run, and are any missable?
Risk cost — Health or ammo spent securing the pickup.
S tier — Keys
Keys are the backbone of level design. Each colored or labeled key corresponds to a door somewhere deeper in the facility—the infirmary wing, maintenance tunnels, security office, or exterior gate chain. Without them you cannot reach the rifle, generator room, or exit sequence no matter how much ammo you hoard.
Achievement ties: None directly, but keys are prerequisites for nearly every other trophy. You cannot power the generator without the keys that open its wing. You cannot farm rifle kills without keys to the armory corridor.
Why S tier: Keys are zero-cost pickups—walk over them, no inventory management minigame. The only failure mode is sequence error: opening optional rooms before mandatory ones and triggering a death that resets key progress (run restart). Follow the Getting Started guide critical path so you never backtrack across a locked fire door.
Pickup habit: When a note or corpse mentions a locked door color, star that door mentally and search adjacent offices first. Keys hide on desks, corpses, and wall hooks in pixel-plain sight.
S tier — Generator
The generator is the story spine’s midpoint. Powering it lights dark hallways, activates elevators or security systems, and triggers I See The Light (36.4% global unlock rate)—a trophy most players who reach mid-game earn, proving the generator is on the critical path rather than optional fluff.
Achievement ties:
- I See The Light — Power up the generator.
Why S tier alongside keys: Without generator power, later rooms remain unnavigable or visually unreadable, increasing death risk and wasting ammo on surprise grabs. The interact is usually a single button press after finding fuel or fuse items nearby—check every crate in the generator room before leaving.
Routing note: Power the generator before heavy rifle kill farming. Lit rooms make headshots easier, which accelerates Never saw it coming without extra medkit consumption.
A tier — Medkits
Medkits heal a chunk of health on use. They are consumable, limited per run, and intentionally placed before known ambush beats—post-generator swarms, pre-boss corridors, narrow stairwells with off-screen spawns.
Achievement ties:
- Ouch — Use 5 medkits (21.2% unlock rate).
Why A tier, not S: You can theoretically finish the chapter without healing if you play flawlessly, but most 100% routes deliberately consume five kits for Ouch. That means do not skip medkits even at high health during a trophy run—pick them up and use them before the final boss if you are short of five.
Economy interaction: Every medkit use saves ammo you would otherwise spend panicking on a low-health firefight. Conversely, wasting medkits at full health early leaves none for the boss rush. Balance Ouch routing with survival: use kits when health drops below half, and track your count toward five across the whole chapter.
Common count: Most single runs contain enough medkit spawns for Ouch plus emergency healing. If you are one short, check optional side rooms unlocked by secondary keys—the 100% route lists known extras.
B tier — Explosive barrels
Explosive barrels sit in warehouses, loading bays, and maintenance areas—environmental hazards you trigger with gunfire. A single detonation can kill multiple undead without spending a single bullet from your weapon tiers.
Achievement ties:
- Green Rain — Kill 10 undead with explosive barrels (22.4% unlock rate).
Why B tier: Barrels are powerful but situational. You need lure tactics—aggro a group, kiting them past a barrel, then shoot the barrel from a safe angle. Mis-timed shots hurt you too. They also do not replace keys or generator progress. Still, for achievement hunters Green Rain is cheaper than 10 extra rifle rounds if routed correctly.
Safe lure checklist:
- Identify barrel line-of-sight before aggroing.
- Lead undead into cluster range; avoid standing adjacent to the barrel.
- Use handgun tap-fire on the barrel, not shotgun splash (protect your health).
- Count kills toward ten before leaving the area—barrel kills persist, but the barrel does not respawn.
Ammo savings: Barrel kills do not count toward weapon kill achievements. Use them exclusively for Green Rain and general crowd thinning when shotgun shells are low.
Full comparison table
| Tier | Item | Progression | Achievement | Global unlock | Missable? |
|---|---|---|---|---|---|
| S | Keys | Mandatory doors | Gates all other trophies | — | Yes if sequence wrong |
| S | Generator | Lights late map | I See The Light | 36.4% | No on critical path |
| A | Medkits | Healing | Ouch (use 5) | 21.2% | Some spawns optional |
| B | Explosive barrels | Optional kills | Green Rain (10 kills) | 22.4% | Yes if detonated early |
Pickup priority order
For a combined story and achievement run:
- Keys on critical path — never detour for barrels before the generator key ring is complete.
- Generator power-on — unlock I See The Light and safer farming zones.
- Medkits on route — pick every box; track uses toward Ouch.
- Barrels when undead groups align — finish Green Rain before leaving industrial wings.
Speedrunners may skip barrel routing entirely; trophy hunters should not.
Interaction with weapons and kill totals
General kill trophies—Getting Started (10 kills), Survivalist (20 kills), Nightmares (30 kills)—count any kill source including guns. Green Rain is barrel-exclusive. Weapon trophies count only their gun type. Plan totals so barrel kills contribute to Nightmares without replacing rifle kills needed for Never saw it coming.
Example: If you have 28 total kills and need Green Rain plus rifle progress, use barrels for kills 29–30 only after rifle quota is met.
Documents and notes (honorable mention)
Scattered files explain lore and sometimes hint key locations. They are not tier-listed because they do not affect mechanics, but they reward thorough exploration and match the game’s 90s horror notebook fantasy. Read them after securing nearby keys so you do not die mid-flavor-text.
Related pages
- Tier list hub — hub overview
- Weapons tier list — ammo economy
- All achievements — full trophy breakdown
- 100% completion route — ordered pickup path
- Getting Started guide — early key routing
Keys and the generator decide whether you finish the chapter. Medkits and barrels decide whether you finish it with every achievement—rank them accordingly on every run.
Frequently Asked Questions
Quick answers to the most common questions.
What is the most important key item in Deadly Escape?
Keys and the generator share S tier. Keys open mandatory doors; powering the generator unlocks I See The Light and lights the late-game areas where rifle kills are farmed.
How many medkits do I need for the Ouch achievement?
You must use five medkits across a single chapter run. Pick up every medkit you find and track uses—do not hoard them at full health on a trophy run.
How do I get the Green Rain achievement?
Kill ten undead with explosive barrels. Lure groups past barrels in warehouse areas and shoot the barrel from a safe distance. Handgun tap-fire works well.
Can I miss key items on a single run?
Yes. Optional keys and one-time barrels can be missed if you pass doors without exploring. Follow the 100% route or Getting Started guide for known locations.